I had been wanting to replace the original carpeting in the living room, bedroom, den and hallway for a long while, and was researching different materials. Vinyl plank looked easy enough for me to install on my own, and there were lots of how-to videos available for different aspects. So in December, 2022, when a nice grey plank came on sale at Lowe's, I took the plunge. It took many months working weekends and for a few evening hours each weekday. Learned a lot of tricks, such as how to easily caulk baseboards like a pro.
I'm very happy with the end result, and quite proud that I did it all myself. Lisa and Stephen helped a few hours to pack and move furniture, for which I am grateful. But with lots of furniture sliders and lots of time, I managed to get the big job got done by myself.
Click thumbnail to view larger pic. Click left/right side to display previous/next pic. Click outside pic or on [X] icon to close.
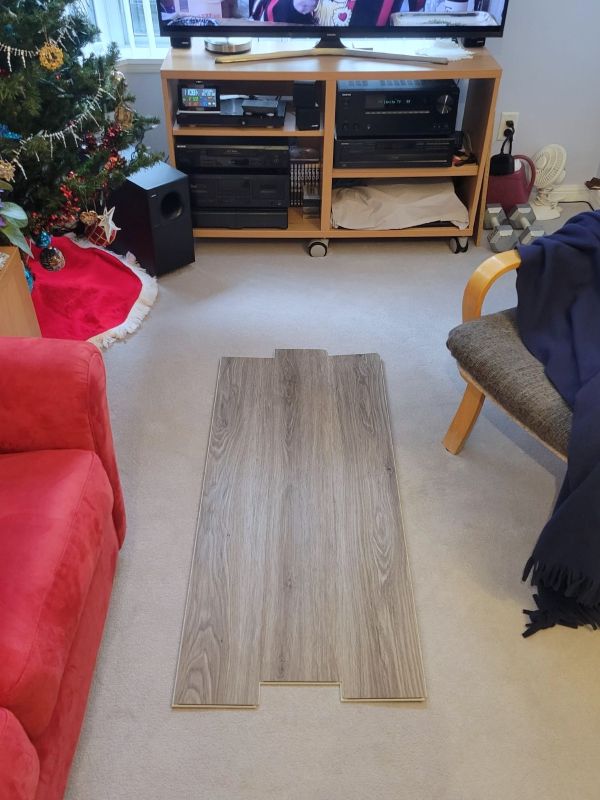 A
sample section of the new luxury vinyl plank flooring on the original carpet in the living room.
A
sample section of the new luxury vinyl plank flooring on the original carpet in the living room.
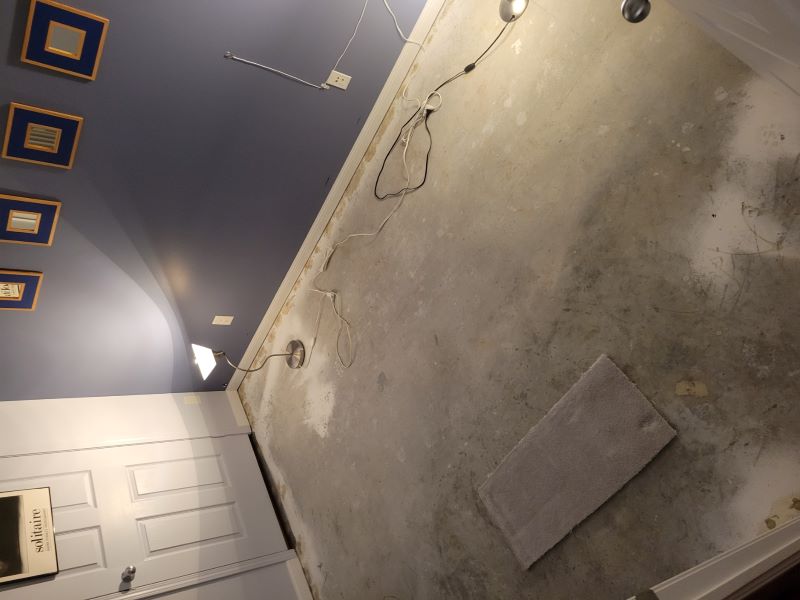 I started in the bedroom, mostly to start with a plank bridging the hall/living room and bedroom. It was cool
to cut and pull up the carpet, but difficult to lift off the carpet strips nailed into the concrete.
Eventually I developed a technique to pop out most of the nails with the wood strip. But some nails needed to
be pulled out using a vice grip, and often, patches of concrete would pop out with the nails, leaving large
divots.
I started in the bedroom, mostly to start with a plank bridging the hall/living room and bedroom. It was cool
to cut and pull up the carpet, but difficult to lift off the carpet strips nailed into the concrete.
Eventually I developed a technique to pop out most of the nails with the wood strip. But some nails needed to
be pulled out using a vice grip, and often, patches of concrete would pop out with the nails, leaving large
divots.
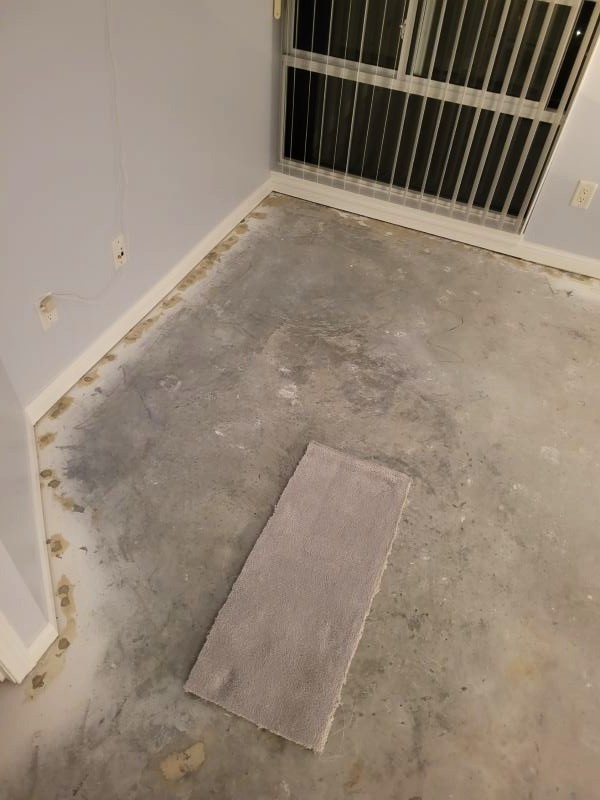 Another view of the bedroom, to the left of the other one, around the little slanted wall by the door. Once
the strips and nails are out, all the concrete chips and dust were swept up and vacuumed. A quick mopping also
helped. Then the depressions caused when concrete lifted or flaked while pulling the nails needed filling with
a patch compound.
Another view of the bedroom, to the left of the other one, around the little slanted wall by the door. Once
the strips and nails are out, all the concrete chips and dust were swept up and vacuumed. A quick mopping also
helped. Then the depressions caused when concrete lifted or flaked while pulling the nails needed filling with
a patch compound.I originally left the baseboards in place, but the height of the new floor left a big gap, so out came the baseboards. Not easy, since they were stapled and glued in place.
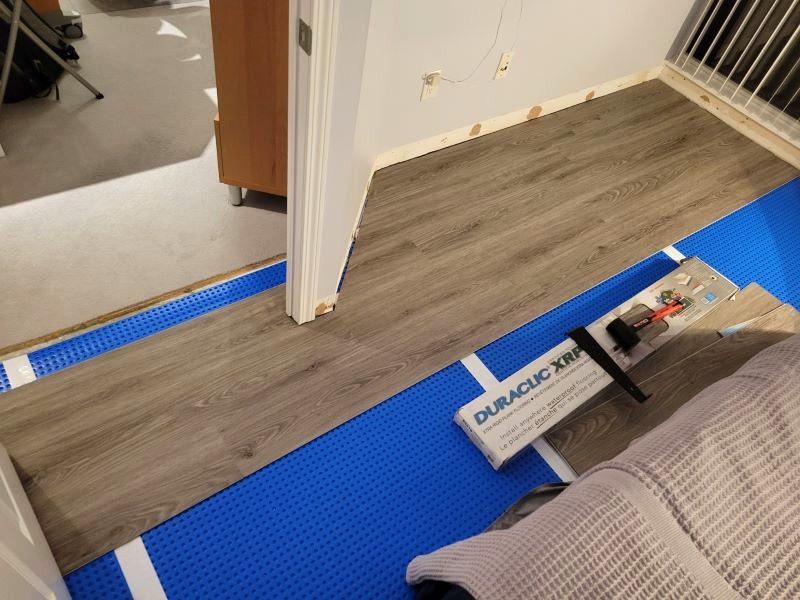 After the floor was patched, vacuumed and mopped a final time, down went the blue underlay. Seams were sealed
with white tape provided in the roll. You can see the underlay in this pic.
After the floor was patched, vacuumed and mopped a final time, down went the blue underlay. Seams were sealed
with white tape provided in the roll. You can see the underlay in this pic.The one plank was trimmed and placed, and then planks were connected to it into the room, to establish alignment. Next, I added the planks in this alcove area back in the direction of the hall/living room. The alignment wasn't totally accurate, and I had to lift and re-lay the planks several times.
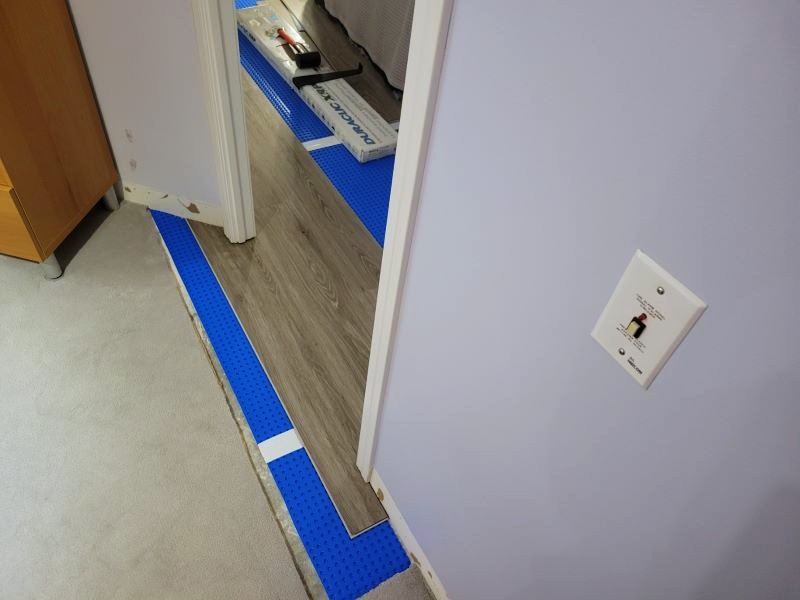 Same tough section, from the living room/hall side.
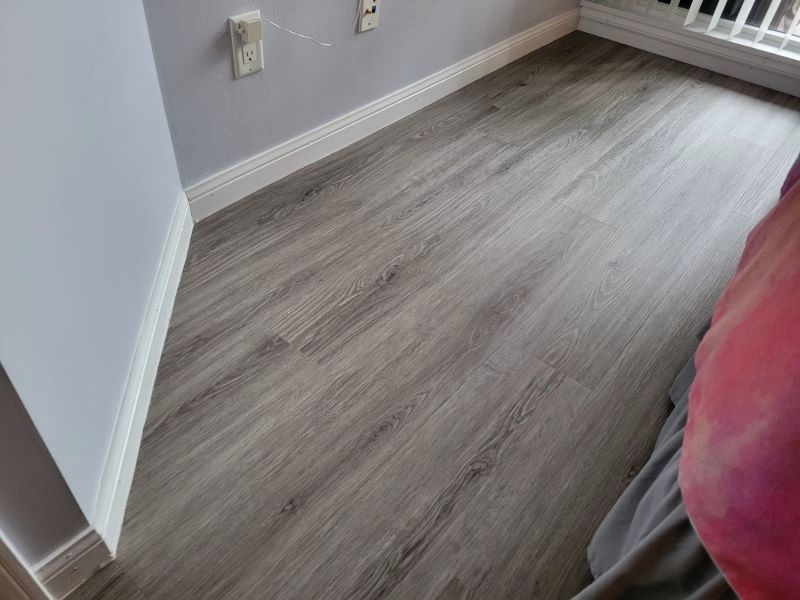 East, alcove area of the bedroom all done, before the furniture put back. The baseboards are installed, and
caulking done. Really proud of the caulking job!
East, alcove area of the bedroom all done, before the furniture put back. The baseboards are installed, and
caulking done. Really proud of the caulking job!
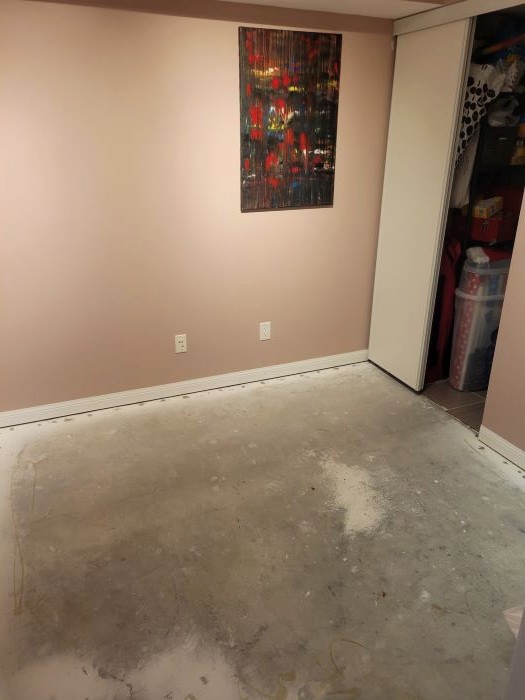 The next room to tackle was the den, where a china cabinet, another cabinet, table and chairs, and my mini
freezer
normally stay. Packed all the dishes and ornaments into bins, with Lisa's help. Then the furniture had to be
moved into the living room and bedroom.
The next room to tackle was the den, where a china cabinet, another cabinet, table and chairs, and my mini
freezer
normally stay. Packed all the dishes and ornaments into bins, with Lisa's help. Then the furniture had to be
moved into the living room and bedroom.Here's the den after the carpet was removed, but before the baseboards were pulled.
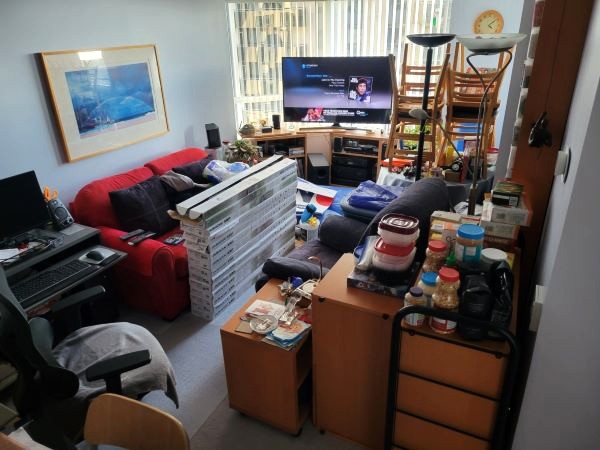 The den furniture had to go somewhere. Here it nearly fills the living room...
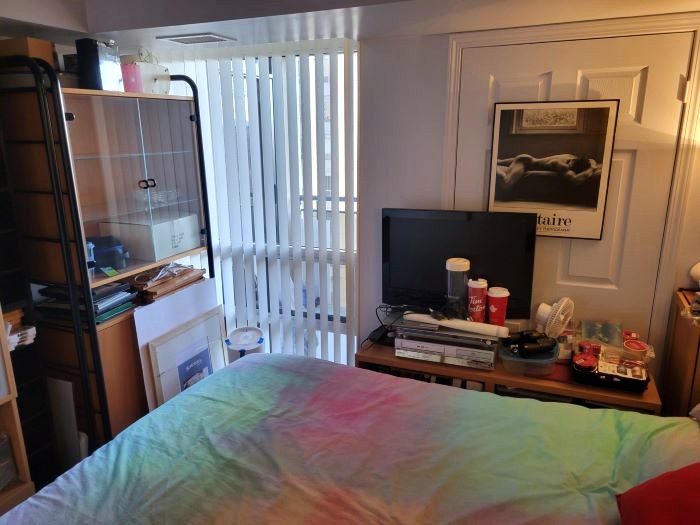 ...and here are some of the larger pieces in the bedroom.
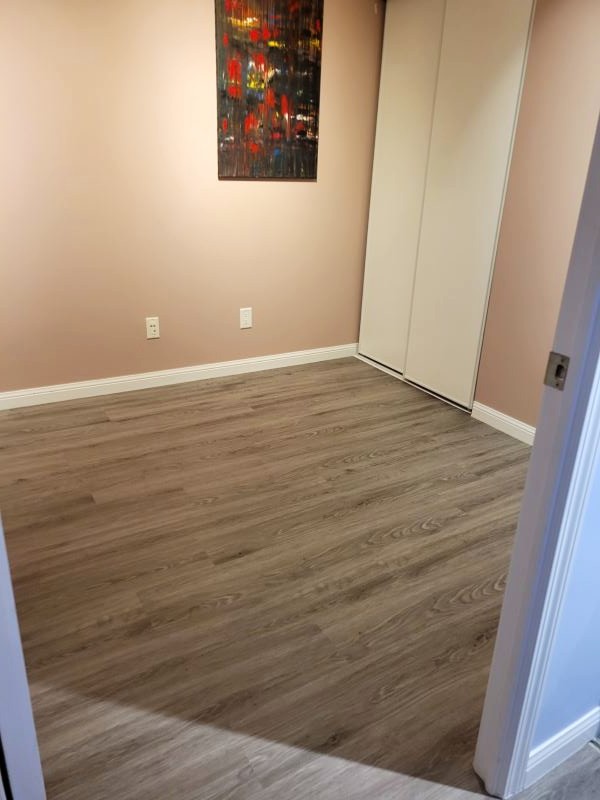 Bedroom
–
Here's the finished den, before moving the furniture back in.
Bedroom
–
Here's the finished den, before moving the furniture back in.
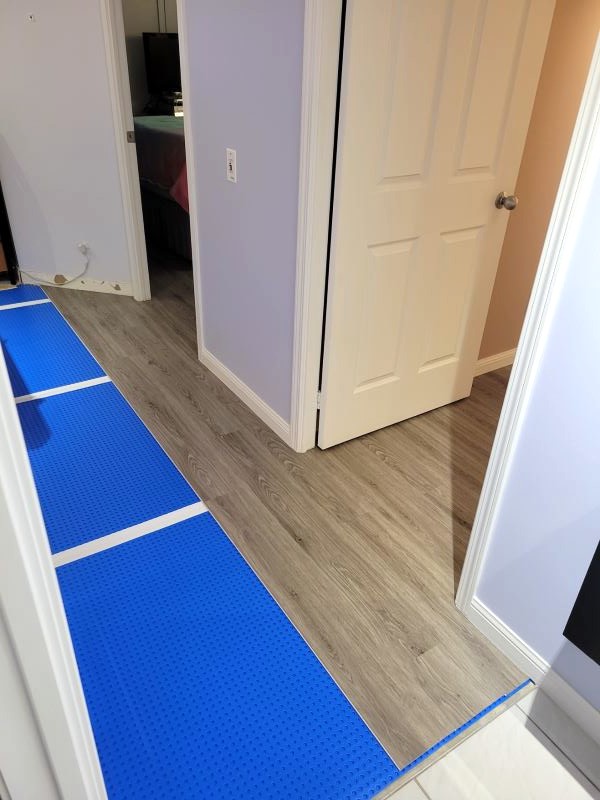 Next, working on the hall, some of which was already done to ensure alignment of the planks into the den.
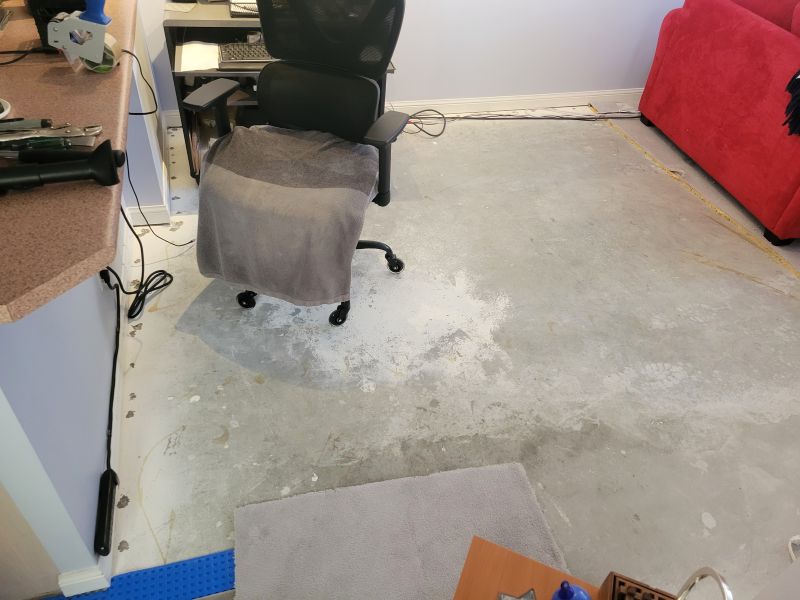 Because of the number of big furniture pieces in the living room, I decided to work on half at a time. Here's
half of the living room closest to the finished rooms, after carpet was removed. I could then roll out the
underlay across the room, perpendicular to the planks.
Because of the number of big furniture pieces in the living room, I decided to work on half at a time. Here's
half of the living room closest to the finished rooms, after carpet was removed. I could then roll out the
underlay across the room, perpendicular to the planks.
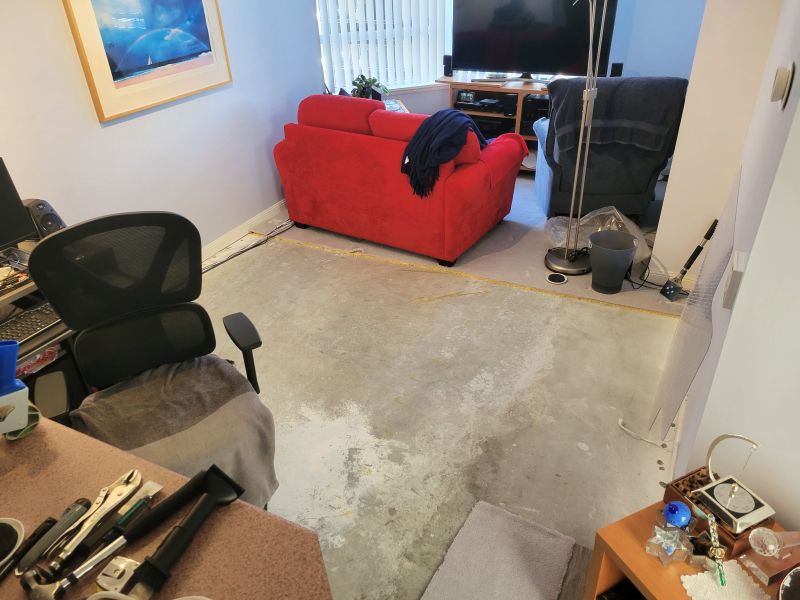 Another view of the cleared living room.
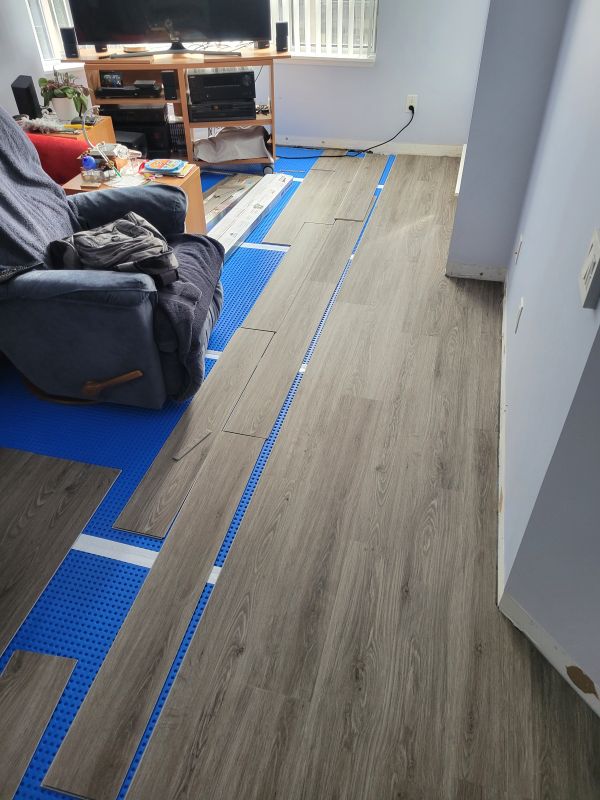 Progress laying down the planks lengthwise in the room, after removing the remaining carpet and finishing the
underlay.
Progress laying down the planks lengthwise in the room, after removing the remaining carpet and finishing the
underlay.
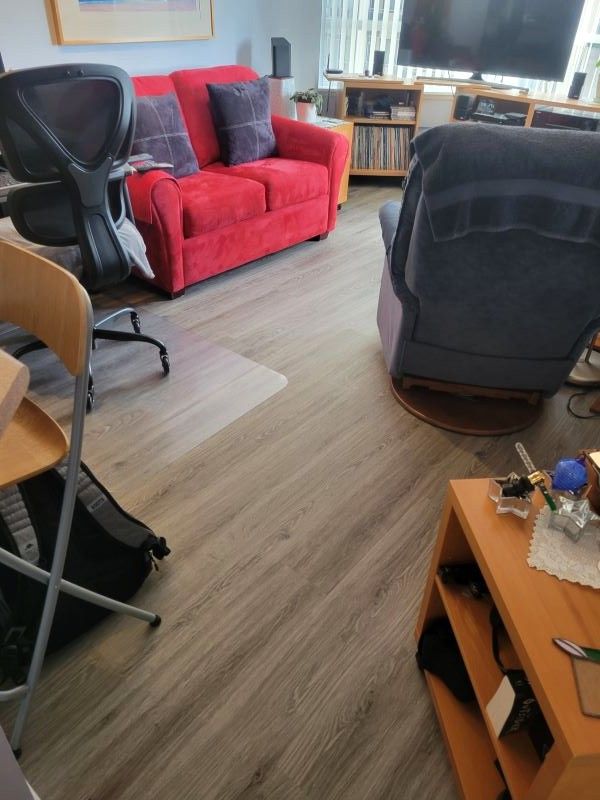 Living room done, and furniture put back! View from the hallway. Had to order a chair mat, since the previous
one had studs and was meant for carpets.
Living room done, and furniture put back! View from the hallway. Had to order a chair mat, since the previous
one had studs and was meant for carpets.
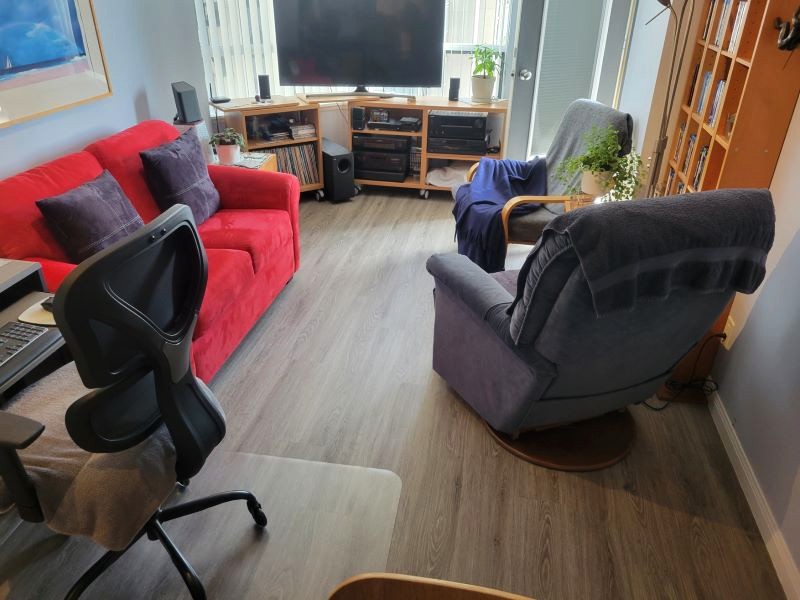 Another view, from in the kitchen. The floor looks a little bare, though.
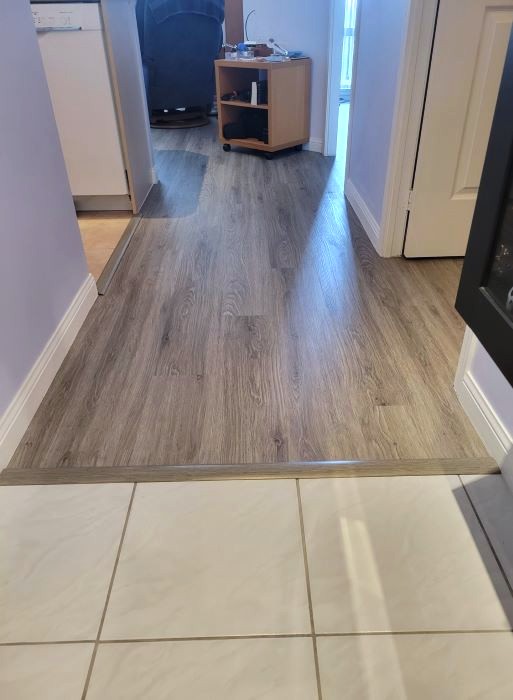 View of the finished hallway, showing both transition strips.
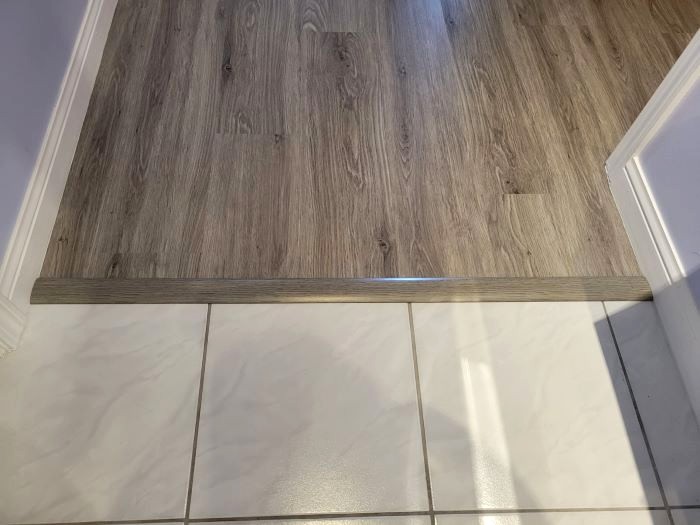 Here's the transition strip between the entry and the hall.
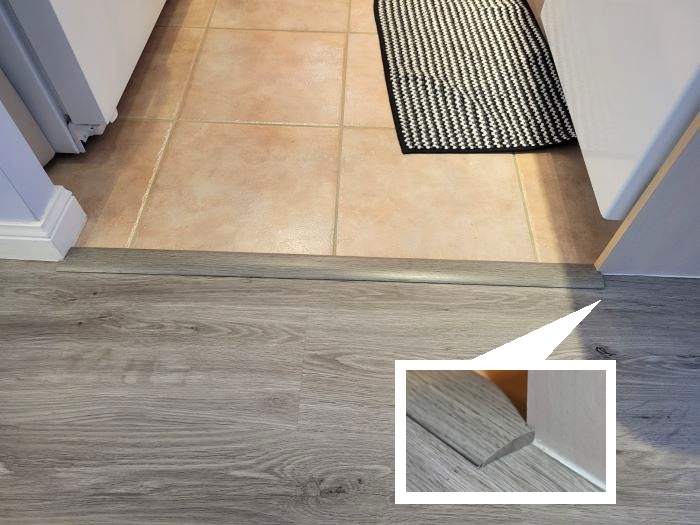 And here's the strip going into the kitchen. The hollow ends are exposed here and I couldn't think of a good
solution
except to purchase coloured caulking for a tiny area. Later, I bough some patch tape with a wood
grain, and cut small pieces to cover the ends, as seen in the inset.
And here's the strip going into the kitchen. The hollow ends are exposed here and I couldn't think of a good
solution
except to purchase coloured caulking for a tiny area. Later, I bough some patch tape with a wood
grain, and cut small pieces to cover the ends, as seen in the inset.
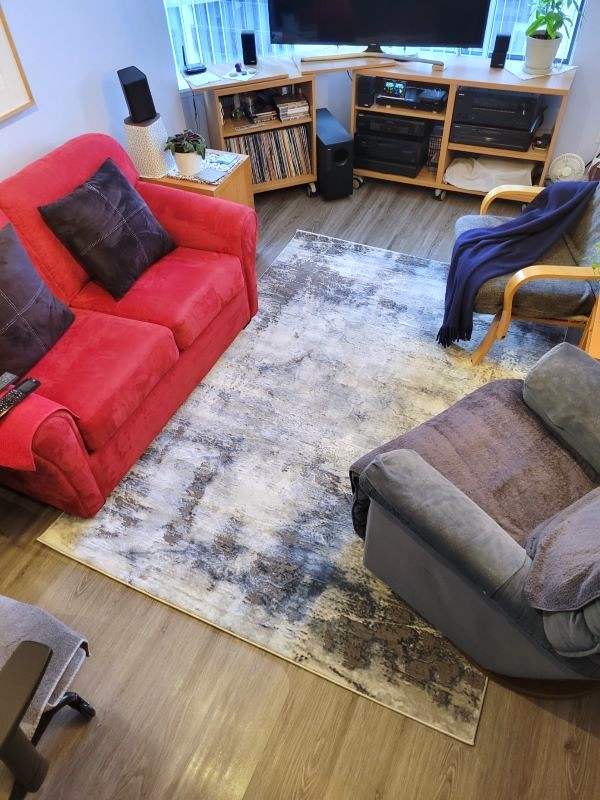 Ordered an area rug from Costco, and rubber underpad from Amazon. View from high above the kitchen cabinet.
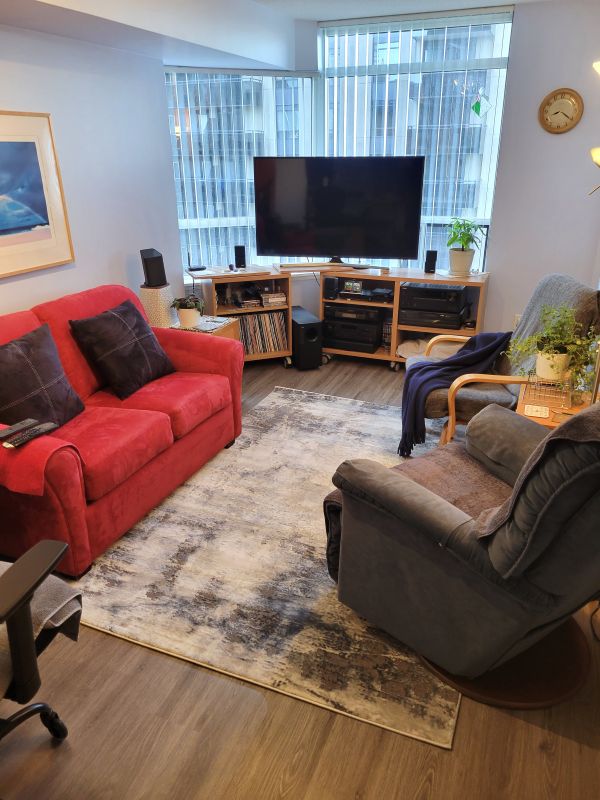 And another view from lower down.

© Copyright: Mike W., mdubca.info owner. All rights reserved.